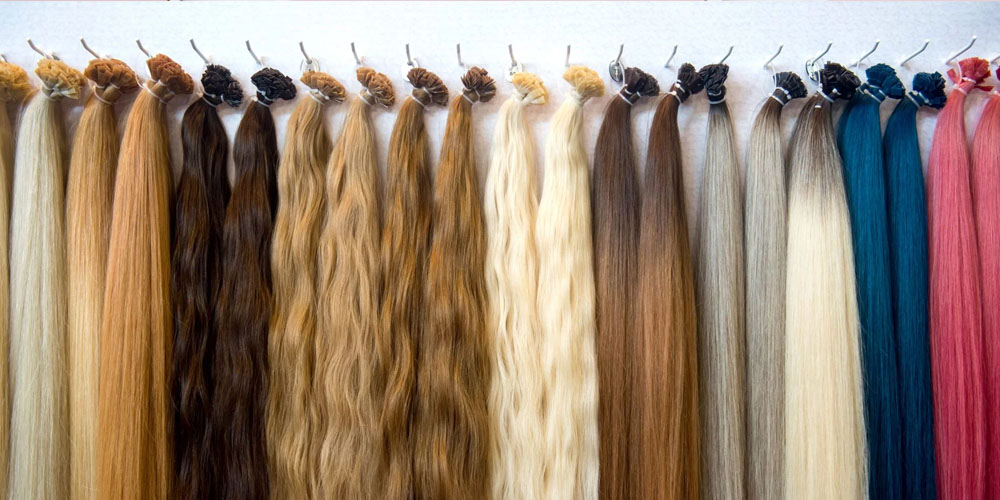
Wigs are incredibly trendy, and the major advantage of using them is the styling versatility. There are so many different cap styles available for wigs! Whatever look you are going for, you’ll be able to discover a cap that will effortlessly offer a natural look. Another of the biggest advantages of wigs is that you may take them off whenever you like and continue to care for your real hair. Most females like to buy human hair bundles with closure to design a stunning wig, but if you’re a newbie, you might be wondering, “How can You design a wig or hairpiece using bundles and lace closure?” Here’s a step-by-step instruction on how to design a wig from the start till the end.
Things You Need For Wig Sewing
- Mannequin head.
- Sewing Kit that includes a pair of scissors, tweezers, curved needles, and stitching thread.
- Pearlised Headed Pins.
- 3 or 4 bundles with closure.
- Flexible domed wig cap.
- Wig stand.
- Wig band.
- Products for Hair-care.
Designing a wig using bundles and a closure
Get the head size, next create a design anda place it onto wig blocks before cutting the laces.
Then, use the wig block to fix your lace. Pay close attention because it is a crucial step in ensuring that the wig resembles real hair. Most females have traditionally overlooked this part. That’s the reason that several girls’ wigs appear to be artificial to a certain extent.
Step-by-Step Instructions For Making A Wig
1st step
Tape or use a wig stand to keep the wig head in place on the surface. To ease the procedure for oneself, people should ensure it is firm when you start manufacturing the wig.
2nd Step
Put the wig cap onto the head of the mannequin.
3rd Step
Get the hair extensions ready. Check them before sewing them on the wig cap. You can also pin it down for figuring out how many times you will need to track it. If you need a single lengthy track, it is advised not to cut it to prevent hair loss.
4th Step
Attach lace closure to the cap’s front with a needle and thread. Start by attaching it on the wig cap’s front with pearlised headpins; next, stitch it completely on the border using thread and needle. To ensure that lace closure is tight, remember to tie tight knots, particularly at the start and finish of your sewing.
5th Step
Starting from one side of the lace closure to another all along the lower edge of a cap, stitch your initial track on the cap. Once you reach the border and there is only a small amount of track remaining, tie a knot, then snip off the extra track. If it really is longer to go another side, gently fold it, compress the folding to eliminate bumps, then stitch in the reverse direction.
6th Step
Stitch the final track to a lace closure when you’ve finished sewing the whole track. Take off the remaining track and tie that using a knot.
7th Step
Remove the lace closure. To let your lace closure look more natural, pull off the hairs there.
8th Step
Once you’ve finished stitching and the wig is somehow looking like a real wig, remove that from the head and trim away any excessive wig cap poking out from behind the laces. Be certain not to damage the stitches.
9th Step
Put the wig band as well as combs in place by turning it inside out. Stitch an elastic band towards the edge of the domed cap with the thread and needle; therefore, it may assist you to hold the hair in place. Put combs inside the cap accordingly to give the wig increased protection. At a minimum, one comb must be on head’s each side.
10th Step
The wig is nearly complete at this point. On a wig, people can apply various products used for hair care. Keep styling the wig till you achieve the desired look.
Suggestion: If you want to dye the wig hair, you should do so before putting together the wig.
